Reflection

This course has taught me a lot about teaching with technology.  Being new to a school district that uses a lot, I picked this course to help me learn how to use technology in my new setting.  To say I have learned a lot, is an understatement.

For starters, I have used Popplet a ton after having to use it for this course.  It is a great tool for not only projects, but brainstorming ideas.  My students love using it because it is so user friendly.  I’ve also used it to create templates for a brainstorm.  I can save the Popplet as a PDF, upload it to my Schoology page, and my students download it into Notability and are about to write on it.

Another tool I learned how to use was Google Keep.  This has been a great way for me to stay organized in my personal and professional life.  I keep all my “to dos” in one place and can access it from anywhere.

Not only did a I learn about specific technologies, but I also learned about how technology can enhance the way a student learns.  Technology allows us to teach material in different ways for the benefit for all students.  Using TPACK, teachers can re-purpose technology for different uses.  I have done this a lot with Popplet.  Through YouTube, I was able to see how social media can help students learn new skills.

This class has opened my eyes to the different ways technology can be used in my classroom on a daily basis.  I feel more confident about teaching in my more tech-savy school than I did before the course.

Cooking with TPACK

This week in CEP810, we discovered TPACK.  TPACK is a theory developed by Dr. Matthew Koehler and Dr. Punya Mishra from Michigan State University.  TPACK stands for the theory of technological, pedagogical and content knowledge.  It is a mouthful, I know.  So what does that really mean? It is taking our knowledge of technology, our knowledge of pedagogy, and our knowledge of the content we are teaching and using it to help our students learn better. TPACK is “pedagogical techniques that use technologies in constructive ways to teach content; knowledge of what makes concepts difficult or easy to learn and how technology can help redress some of the problems that students face” (Koehler, 2012).  TPACK does not require new, high-tech technologies.  Dr. Mishra talks about how a whiteboard is a piece of low-tech technology, but it still falls under the umbrella of TPACK.

Our assignment for class this week was to “cook” with TPACK.  We needed to have someone pick out a bowl, a plate, and a utensil without knowing the reason why.  Then we had to draw a number and each number corresponded with a cooking task.  My husband picked out a large watermelon bowl, a salad plate, and his favorite pair of tongs.  He drew number four which corresponded with making a peanut butter and jelly sandwich.  Take a look below to see how my sandwich turned out!

As you can see, I got pretty lucky with the tools I was given and the task I was given.  The most challenging part was spreading the peanut butter and then trying not to get peanut butter on me while scooping the jelly out of the jar.  If I had bread in the house, I think it would have been even harder.  As I mentioned in the video, the tortilla allowed for me to scrape the sandwich fillings off the tongs.

For “Cooking with TPACK,” I needed to use all the components of TPACK:  I had to make a peanut butter and jelly sandwich (content), in a different way than I originally learned (knowledge), and I had to film it (technology).   This is what teachers are constantly doing in our classrooms.  We are re-purposing our tools in different ways to suit our students’ needs.  We do this without thinking about it.  Just like I had to think quickly on how to use my tools to make my sandwich, we as teachers are constantly having to think on our feet when a lesson starts going sideways.  TPACK is at the core of what we do.


Koehler, M. (2012, September 24). TPACK.ORG. Retrieved October 14, 2018, from http://tpack.org/

21st Century Lesson Plan

This week’s lesson in CEP810 was focused around helping students to be successful in the 21st century.  The biggest, and easiest, way to do this is by integrating technology into a lesson.  Technology is a huge part of our lives in the 21st century.  It is our duty as teachers to teach students how to use it as a tool to further their learning.

I teach 9th/10th grade special education reading/writing resource.  My class is structured to be a thirty minute lesson in the beginning of class and the other half of the class is spent with students working on their general education assignments and I support them on completing those assignments per their IEP needs.  Many of my students are reading one grade level below, but their writing is where I see the biggest need.

Douglas Thomas and John Seely Brown (2011) state that “The challenge is to find a way to marry structure and freedom to create something altogether new” (p. 49).  For my students, the iPad they have in class can be extremely distracting.  Facebook is just a click away.  To me, my lessons need to have a structure, but also need to allow students the freedom of using technology in the lesson.  That’s why when I recently heard about the website Quill, I thought it was a great solution to my needs.

Quill is an online writing tool.  The first lesson I did was have students complete the “Sentence Structure Diagnostic.”  Through this, students are asked to add punctuation to sentences and identify incomplete/complete sentences.  Looking at the results of this assessment, I noticed many of my students were unable to identify an incomplete or complete sentence.  I also noticed this when looking at students writing samples, but I wasn’t sure if it was product of rushing through writing or not knowing the skill.  The Quill assessment confirmed that this skill needs to be explicitly taught.

Quill supplies lesson plans for teachers to use to teach specific skills.  While I think this is great, I also think lesson plans need to be targeted to specific students.  When I downloaded the Quill lesson plan for incomplete/complete sentences, I knew things needed to be changed in order for it to meet my students needs.  This lesson plan targets the skill of helping students to identify incomplete and complete sentences.  It also teaches them if a sentence is incomplete, how to make it complete.  My lesson plan is altered from the lesson plan available on Quill.  I use the Quill materials to teach it, but how I use the materials is different.

The Quill lesson is displayed onto a SMARTboard, but students are also able to view the lesson on a computer or iPad.  In my school, every student has an iPad so my students used an iPad.  There are slides with complete and incomplete sentences.  The teacher can underline and edit the sentences that display onto the SMARTboard.  Some slides have sentences that allow students to submit responses to complete incomplete sentences. Through this lesson, students are able to actively work to indentify sentence elements (subject and verb) and complete sentences. Teachers can monitor student responses to see if students need more support throughout the lesson.

In order to see what students have learned, I asked students to write a small paragraph after the lesson.  The paragraph was their end product.  This allows me to assess to see if student writing will improve.  Students wrote the paragraph using Notability and were able to submit their paragraph through Schoology.  Yes, my students use lots of technology and I love it!

View my Complete Sentences Lesson Plan here!


References

Thomas, D., & Brown, J. S. (2011). A new culture of learning: Cultivating the imagination for a world of constant change. Lexington, Ky: CreateSpace?.

M, H. (n.d.). Lesson 1 Missing Subject Verb Fragments [PDF]. New York: Empirical Resolution Inc

Networked Learning Project Final Update!

If you’re reading the title of this blog post and feel lost or confused, please check out my first two blog posts on this topic: here and here.

As you may remember, I was learning to hand letter using only YouTube and help forms.  My previous blog posts have links to the different sites I used as my teachers.  This video was the most helpful because it was all about using Crayola markers, which were inexpensive tools that I already had.

As I discussed in my last post, I needed to focus on slowing down, keeping consistent letter sizes, and writing in a straight line.  To do that, I started practicing using some graph paper that I had printed off.  I used 1/2 inch by 1/2 inch squares.

Check out below for my final video update and see how I’ve done:


Below are some of my most recent attempts:

IMG_7157
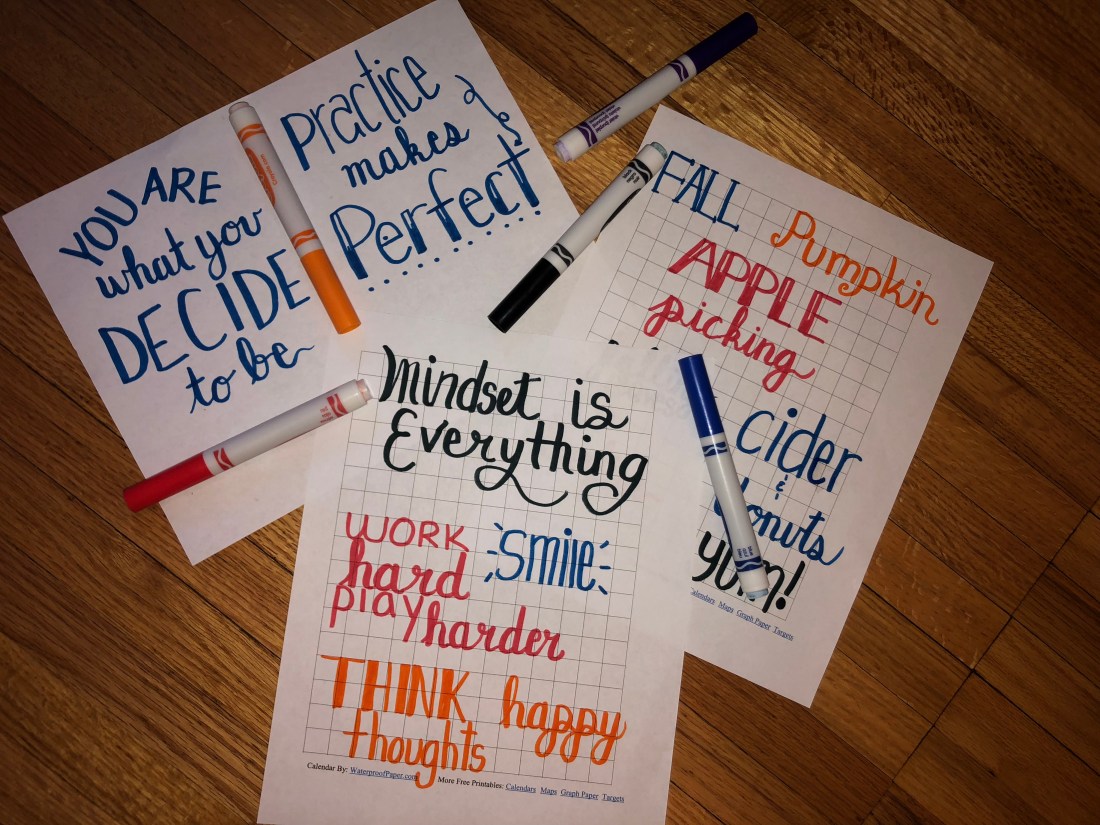
The “apple picking” is by far my favorite!!IMG_7158

I thoroughly enjoy learning through this project.  It was fun to learn a new skill and it was free!!  I’m a super visual learner, so being able to learn through visuals and at my own pace was nice.  I was able to pause videos when needed to re-watch a part of slow down to give me time to practice.  Also, if I found a video that wasn’t super helpful, I didn’t have to keep going.

Professionally, I think this would be a great way for my students to learn something.  Every student at my school has an iPad and most of them love watching YouTube videos.  Therefore, I think if students could spend their time watching videos for certain math skills, writing skills, etc.  They may also learn a new skill for themselves.  Writing essays seems to be tricky for many of my students.  If they were able to watch a video on how to write an essay, stop it to use their own information, and then continue the essay lesson when ready, I think a lot of my students would have an easier time writing.  It would be on their own time and at their own pace, which is great for many of my students who feel easily overwhelmed and anxious.

Thanks for following along in my Networked Learning journey!  Have you begun your networked learning journey yet?  Share with me!

Getting Things Done with Google Keep

This week, I was challenged to use a new type of technology to help keep me organized and to “Get Things Done!”  We all have our organization systems.  Some people use one for work and one for personal.  Some people need an all in one system.  I’m one of those people that uses multiple systems.  I need all my “to-dos” in one area and all my appointments in another.  I feel I’ve perfected (well, as much as I can) my appointment system, but the to-do system needed some work.

Previously, my “to-do” list was on sticky notes, notebook pages, and in my head.  Nothing was synced together.  Sticky notes covered my computer (both paper and digital ones).  Notebooks contained lists of things to do because I didn’t have my computer or a sticky note when I thought of the items.  Then, a list of “to-dos” in my head that sometimes rarely got done because, well, I forgot!

So, to tackle this “to-do” organization system problem, I looked at Google Keep.  Google Keep works by creating virtual lists and sticky notes.  The reason why it works best than the other digital sticky notes I was previously using is because it is all done through Google Drive so that they are accessible from any device.  Also, the lists can be labeled and sorted by different categories.  The notes can be hand written, or typed.

google keep


As you can see all my notes are hand written.  I got an Apple Pencil through work today so, naturally, I had to play with my new toy!  As you can see, in the bottom left hand corner each sticky note has a label.  Using the three lines in the top left hand corner, I can choose to sort the notes by a specific label.  If I clicked “Michigan State,” I would only see the sticky notes with the label “Michigan State.”   I really like that everything is in one location and that I can access this from any device!

The only downfall is that I’m not entirely use how to edit my notes.  I know with more practice using this new system, I will figure that out.

Anyways, this week I’ve really been able to “Get Things Done” because I have all my “to-dos” in one spot.  I’ve noticed that I’m not constantly racking my brain for “where was I going to stop on my way home?” or “What else did I need to do tonight?”  Google Keep is a keeper!

Networked Learning Update!

If you’re not sure what I’m talking about when I say “Networked Learning,” check out this blog post!

I should start off by saying that I have never been artistic.  I have not one artistic bone in my body.  While some may have thought that learning to write fancy letters was easy, let me assure you that it hasn’t been.  It has been rough.  My second official practice went…terrible.  I spent so much time practicing with different marker types that I decided not to count it as practice because they were so bad.  I mean, I didn’t even finish the word at one point because it was looking so terrible.  Don’t believe me?

IMG_7070

Then I found this great video that used Crayola markers to hand letter.  Name one teacher who doesn’t have Crayola markers?  I dug those out and got to work.  I watched the video at least three times and found a blog with some great visuals for downstrokes, upstrokes, and the alphabet.  I’d say the official practice number 2 was successful!

IMG_7060

I focused on the letters that were causing me troubles.  After watching a video on handlettering mistakes, I realized I was making one of the biggest!  I’m normally a pretty quick writer, so slowing down has not come easy.  A few days later after practicing, I decided to put my skills to use.  Practice number 3 involved making a grocery list.

IMG_7066

To be honest, I’m not super thrilled with how it looks.  I’m starting to notice not only do I struggle with slowing down, but I also am struggling with keeping letter sizes consistent and straight.  Below is a video of me practicing.  It is sped up, a lot.  But in reality, it takes me almost one minute to write the word “football.”

In the next couple practice sessions, I need to focus on writing slow, keeping consistent letter sizes, and writing in a straight lines.  As you can probably notice, many of my words are in a “V” shape.  A few YouTube bloggers have used graph paper to help with hand lettering so I’m going to print off some to try to help with my letter sizing and keeping everything straight.  Hopefully that helps!   I’ve been focusing mostly on script because it has been giving me the most trouble.  I hope to showcase a few different styles in my final blog post.  Thanks for following my journey!

Have you been learning a new skill?  Share a comment about how it has been going.  I’d love to hear!

Professional Learning Network

Professional Network.  The term isn’t anything new.  We all know the saying “it’s not what you know; it’s who you know!”  Professional networking is a great way to learn new things and to move up the “corporate ladder.”  Well, in education there really isn’t a “ladder.”  So what is the point of the professional network then?

Learning!  Teachers are not just teachers!  We are students too!  We are constantly learning new things to advance the way we are teaching content in our classroom.  That is where our Professional Learning Network (PLN) comes to help us.  Who or where are we going to get our support from?

This week’s challenge was to make a web of my PLN, featured below:

Professional Learning Network
My Professional Learning Network

What stood out to me the most was how many bubbles I had coming off the internet.  I know I constantly am using social media to inspire me or collect resources for my classroom.  Seeing all those bubbles got me thinking: 30-40 years ago, this wouldn’t have been possible!  How lucky am I to be a teacher in today’s society where this technology is available to me to collaborate with others virtually!

My PLN has grown immensely in the past couple weeks.  Not only am I working with my new colleagues at my new school, but I’m, almost daily, still collaborating with colleagues at my previous school.  We are always sharing ideas and asking for advice, even though we are no longer in the same building.  A teacher’s PLN isn’t just about “climbing the ladder.”  It is who we turn to for help, ideas, inspiration, and comfort.  A teacher’s PLN is a toolbox of information that make life a little bit easier (and if all else fails, we have coffee and Target).

Networked Learning

To start, I know you are asking yourself, “What is ‘Networked Learning?'”  Well, it’s using social networking, in the forms of YouTube and Help Forums, in order to learn something!  Crazy?  Slightly.  Intriguing? Very!

So for this challenge, I have decided to learn how to do hand lettering.  Hand lettering is the skill of being able to draw amazing art with words.  It is what you see when you go into a coffee shop and see the drink specials written all beautifully on the chalkboard menu.  This will be a huge challenge for me because I am not an artist, but I love to doodle when taking notes.

In my quest for beautiful words, I found a few sources right away that seem great:

  • This is one of the first videos that I found on hand lettering.  It was great because out of the first three supplies that she uses, I have two of them!  That means no extra trips out to the store to get supplies for my new hobby.  She does a really good job explaining the way to draw the letters focusing on the up strokes and the down strokes.
  • This next video is done by a woman named Heather who has an entire YouTube series on hand lettering.  She will probably be a huge resource for me in my quest to learn.  Plus the flair pens she is using are one of my favorite pens!  Heather does a great job being relate-able and showing very different lettering styles.
  • I also found this blog dedicated to hand lettering.  It also give suggestions for specific pens and pencils to use.

Below is a before picture.  This is my first, documented, attempt at hand lettering.  As you can see, it is not great.  I am really cringing looking at the “r” in “practice.”  I think I need some practice with it!  Hopefully in a few weeks I can take a picture that looks a lot neater!

Hand lettering practice


#teacherblog #handlettering #cep810 #networkedlearning

Learning, Understanding, & Conceptual Change

Hello!  My name is Amanda and I am a graduate student at Michigan State University.  I am currently working towards getting my master’s in Special Education- Learning Disabilities.  This blog will be used to document my learning and understanding in courses.   I hope you enjoy and learn something new!

This week began the first week of my class CEP 810, Teaching for Understanding with Technology.  As part of the course assignments this week I was asked to read the first three chapters of How People Learn by Bransford, Brown, and Cocking.  These chapters really dove into the difference between learning and understanding.  Learning can be rote fact memorization.  Students are learning a fact, using it for a test, and then, probably, never accessing that information again.  When students learn for understanding they are able to take what they have learned and apply it into different situation to critically think and problem solve.  The authors also talked about the difference between novice learners and expert learners.  Novice learners are not able to apply previous knowledge, whereas expert learners are.  If you’d like to learn more about it please click here to read my take on this subject!